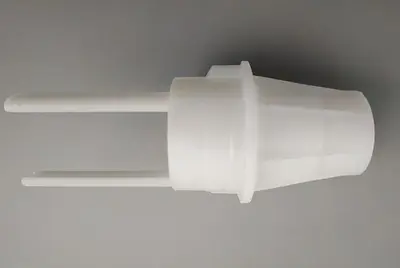
Ejector pin marks refer to glossy or white imprints on molded parts, often appearing as dark shadows or gloss variations opposite the ejector pin location—without raised or sunken textures. These marks result from stress, cooling inconsistencies, or ejection forces.
Wall Thickness Issues:
Inadequate wall thickness (e.g., <2.5mm for simple designs, <2.8mm for ribbed parts) hinders resin flow, forcing higher molding parameters that exacerbate marks.
Thin walls increase filling resistance, leading to orientation stress and visible defects.
Gating System Problems:
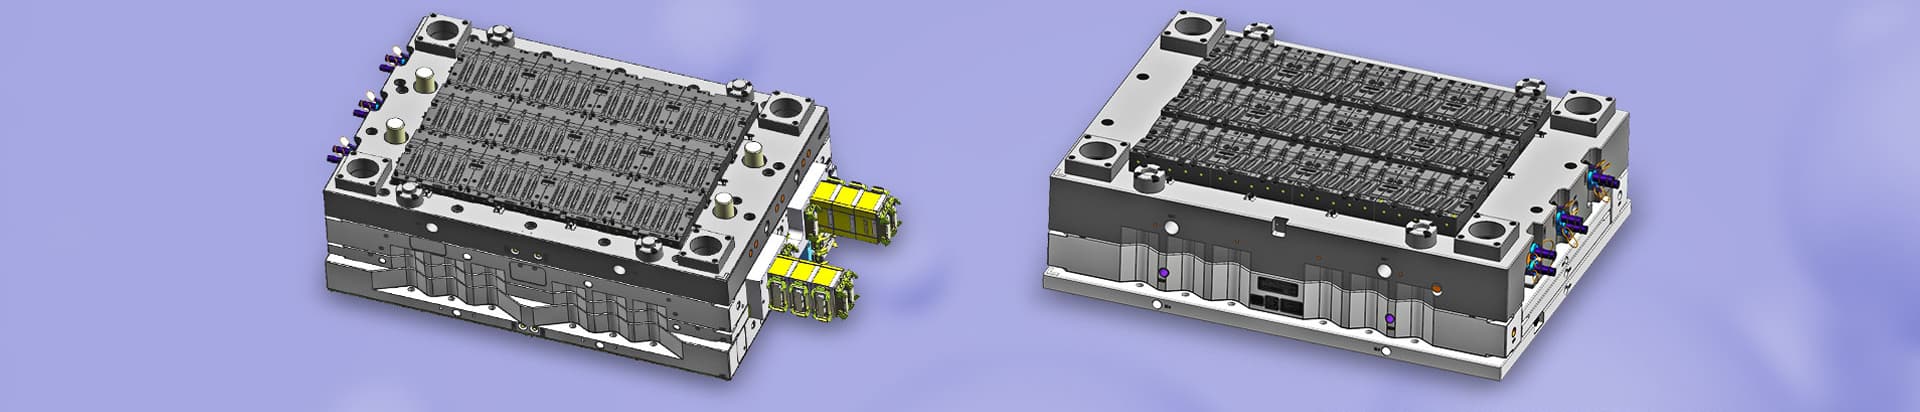
Narrow runners, long main runners, or sharp turns increase flow resistance, limiting filling and complicating parameter adjustment.
Gate Design Flaws:
Small gates, poor location, or incorrect quantity create high flow resistance and orientation stress, with peak stress around the gate.
Ejector Mechanism Issues:
Improper ejector type, size, or placement (e.g., missing ribs or flanges) causes uneven ejection forces, leading to marks.
Cooling and Venting Failures:
Uneven mold cooling or inadequate venting (causing vacuum in the cavity) amplifies stress and marks.
Injection Settings:
Incorrect pressure, speed, or switchover positions lead to overfilling or insufficient packing.
Holding Pressure Control:
Improper holding pressure, speed, or backpressure settings enhance internal stress.
Temperature and Ejection Parameters:
Mismatched mold/barrel temperatures, ejection speed/pressure, or clamping force (tonnage) contribute to defects.
Tailor wall thickness to material and structure: ≥2.5mm for simple parts, ≥2.8mm for ribbed components.
Balance thickness to minimize filling resistance and stress.
Gating and Runner Adjustments:
Enlarge sprues/runners if high injection parameters cause marks (add vents at runner ends).
Locate gates for uniform filling, away from ejectors to distribute stress evenly.
Ejector System Improvements:
Design ejector pins on ribs for deep features, ensuring uniform force distribution.
Prioritize ejector placement at maximum stress points for balance, avoiding excessive force that causes marks.
Injection Molding Machine Selection:
Avoid oversized machines, as they may induce excessive pressure or nozzle design issues, increasing internal stress.
Process Condition Optimization:
Temperature Control: Adjust barrel/mold temperatures to reduce melt viscosity and stress.
Injection Pressure/Speed: Lower speeds and pressures to minimize shear stress; optimize switchover positions.
Holding Pressure/Time: Reduce holding pressure (when >90% filled) to ease orientation stress, improving marks.
Cooling Time: Ensure sufficient cooling (until surface temperature meets ejection limits) to prevent deformation.
Ejector pin marks require a holistic approach to product design, mold engineering, and process parameters, balancing functionality with surface quality in plastic injection molding production.
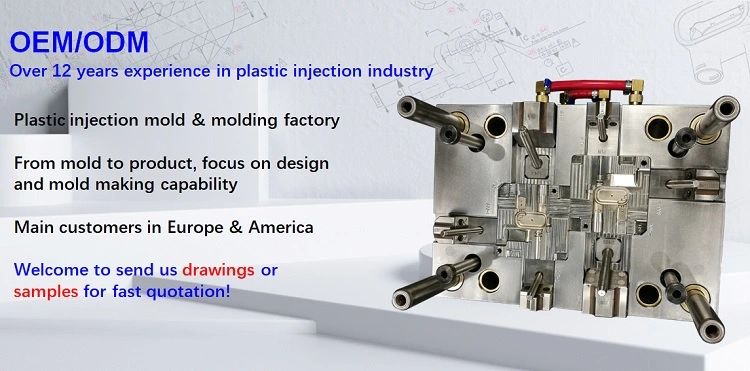
We specialize in plastic injection mold manufacturing service and injection molding processes for 20 years, contact yoyo@hanking-mould.com for your plastic products projects.


 Call us on:
  Email Us:
  1st Floor, Block1, No.3 Beiting Road, Houting Community, ShaJing Street, Bao'An District, Shenzhen City, Guangdong Province, China
  English
 Deutsch
 italiano
 русский
 français
 română
 العربية
 Español
 Polska
 日本語
日本語 한국어
한국어