White Mark Defects on Plastic Injection Parts: Causes and Comprehensive Solutions
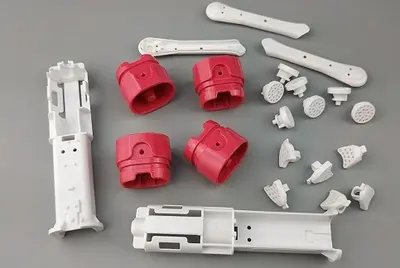
Injection molding is a widely used manufacturing process that involves injecting molten plastic into molds, followed by cooling and solidification to produce the desired plastic products. However, white marks (also known as "ejection whitening") are a common defect in practical production. This defect appears as white patches or streaks on the top or edges of
plastic injection parts, impairing their appearance quality and reducing product added value. The essence of white marks is that the ejection force exceeds the plastic’s bearing limit during demolding, causing local stress concentration. Below is a systematic analysis of the root causes and targeted solutions, with a focus on
custom injection molds and production process optimization.
1. Core Causes of White Marks
White marks on plastic injection parts stem from three key categories: unreasonable mold design, improper injection process parameters, and material property limitations—all of which are closely related to the performance of custom injection molds and production control.
1.1 Mold Design Flaws ("Hidden Risks")
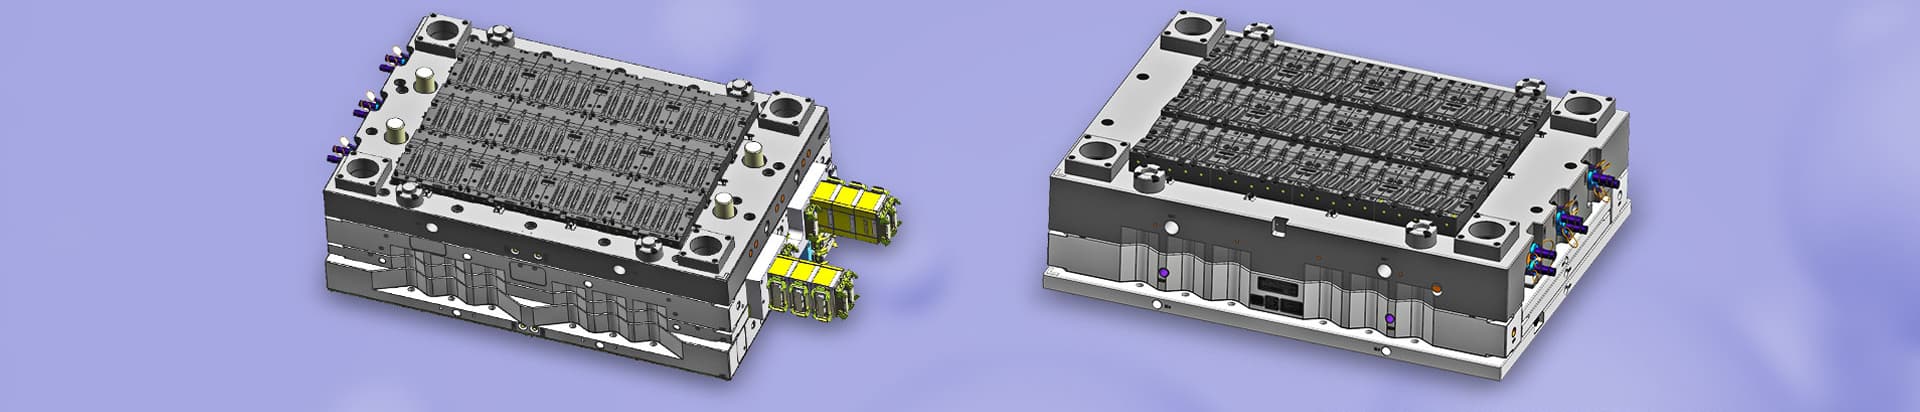
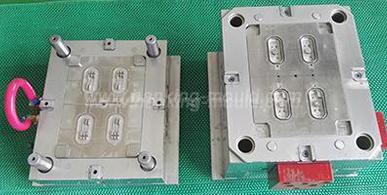
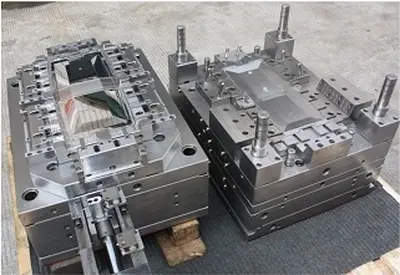
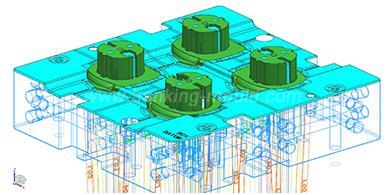
custom injection molds play a decisive role in demolding smoothness; design flaws directly lead to white marks:
Irrational Ejector Pin Layout: Too thin or insufficient ejector pins (e.g., a single pin for thin ribs) result in small contact areas and high pressure, causing local stress concentration and whitening. Ejector pins placed off the "force balance point" (e.g., forced ejection at uneven wall thicknesses) lead to one-sided pulling and whitening.
Insufficient Draft Angle: Mold cavities or cores with draft angles smaller than the standard 1°–3° cause tight adhesion during demolding. Ejector pins must exert excessive force to push the part out, squeezing the plastic and creating white marks.
High Surface Roughness: Unpolished mold surfaces (rough like sandpaper) increase demolding friction. Ejector pins require greater force, easily leading to whitening on plastic injection parts.
Poor Ventilation: Inadequate mold ventilation traps gas in the cavity, causing uneven filling and internal stress, which manifests as white marks during ejection.
1.2 Injection Process Errors ("Operational Pitfalls")
Improper process parameter settings disrupt the molding and demolding process:
Uncontrolled Pressure and Temperature: Excessively high holding pressure over-compacts the plastic, leading to high internal stress after cooling—ejection force triggers "burst whitening". Too low melt or mold temperature causes rapid plastic cooling, increasing hardness and reducing toughness, making it prone to whitening during ejection (similar to bending brittle plastic).
Insufficient Cooling Time: Incomplete solidification of the part’s interior means ejection acts on "semi-solid jelly", resulting in surface rubbing and whitening (analogous to deformed cake from premature demolding).
Excessively Fast Injection Speed: Turbulent flow of molten plastic in the mold creates internal stress, which evolves into white marks during demolding.
1.3 Material Property Limitations ("Material Interference")
Certain material characteristics increase the risk of white marks:
Poor Fluidity Materials: Polymers like PC (polycarbonate) and POM (polyoxymethylene) have high melt viscosity, leading to difficult filling and stress accumulation at ejector pin locations.
Glass Fiber-Reinforced Materials: Glass fibers (like "steel bars in plastic") are cut or displaced by ejector pin force, resulting in white streaks on the surface (similar to snagged sweater fabric).
Impure or Moist Raw Materials: Contaminants or excess moisture in raw materials cause uneven melting and internal defects, which appear as white marks on plastic injection parts.
2. Comprehensive Solutions: From Design to Production
Resolving white marks requires a full-process approach, integrating custom injection molds optimization, process adjustment, and material management.
2.1 Mold Design Stage: Eliminate Risks in Advance
Optimize custom injection molds to lay the foundation for defect-free demolding:
Ejector Pin Design Optimization: Increase contact area by using flat-top pins instead of sharp ones, or large-area ejector blocks for thin parts to disperse pressure (similar to pushing with a palm vs. fingers). Arrange ejector pins based on a "force map"—focus on thick walls, ribs, or bosses to apply force on sturdy areas.
Optimize Draft Angle: Set draft angles to ≥1.5° for thin-walled parts, ≥3° for thick-walled parts, and up to 5° for transparent parts. For complex structures (e.g., deep cavities), add "notches" to assist demolding and reduce ejector force.
Improve Surface Finish and Ventilation: Polish mold surfaces to reduce friction. Adopt multi-stage ventilation to ensure smooth gas escape, avoiding stress accumulation.
Regular Mold Maintenance: Clean and maintain custom injection molds periodically to remove residual plastic and debris, ensuring stable performance.
2.2 Injection Process Optimization: Avoid Operational Pitfalls
Fine-tune process parameters to match material and mold characteristics:
Precise Temperature Control: Set melt, mold, and cooling temperatures based on material properties. Monitor temperature in real time to ensure stability, preventing rapid cooling or overheating.
Adjust Pressure and Speed: Reduce excessive holding pressure to minimize internal stress. Control injection speed to maintain laminar flow, avoiding turbulence. Set injection pressure reasonably based on material fluidity and part structure, ensuring stable pressure during production.
Optimize Cooling Time: Determine the minimum cooling time required for full solidification through trial runs, balancing production efficiency and part quality.
2.3 Material Management: Address Material Limitations
Select High-Quality Raw Materials: Choose pure, low-impurity materials. Store raw materials properly to avoid moisture absorption or contamination; dry materials with high moisture sensitivity before use.
Match Materials to Requirements: For parts prone to white marks, select materials with good fluidity and toughness. For glass fiber-reinforced materials, optimize mold design and process parameters to reduce fiber damage.
Control Additives: Use appropriate lubricants to improve fluidity and reduce demolding friction, avoiding excessive additives that cause defects.
3. Conclusion
White marks on plastic injection parts are a systematic defect rooted in custom injection molds, process parameters, and materials. By optimizing ejector pin layout, draft angles, and ventilation in custom injection molds, fine-tuning temperature, pressure, and speed parameters, and selecting high-quality materials, manufacturers can effectively eliminate white marks. Continuous monitoring and refinement of the entire production process—from mold design to material handling—are key to ensuring the appearance quality and added value of plastic injection parts, meeting the high standards of modern manufacturing.


 Call us on:
  Email Us:
  1st Floor, Block1, No.3 Beiting Road, Houting Community, ShaJing Street, Bao'An District, Shenzhen City, Guangdong Province, China
  English
 Deutsch
 italiano
 русский
 français
 română
 العربية
 Español
 Polska
 日本語
日本語 한국어
한국어