Have you ever wondered how to get rid of those pesky gates on your molded parts? Well, you're in the right place because today we're going to dive into the essential guide to removing gates after injection molding. So, buckle up and let's get started!
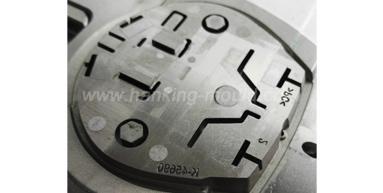
Before we jump into the nitty-gritty of gate removal, let's talk about what gates are and why they matter. In the world of injection molding, gates are the channels through which molten plastic flows into the mold cavity. They play a crucial role in shaping the final product but need to be removed to achieve a polished finish.
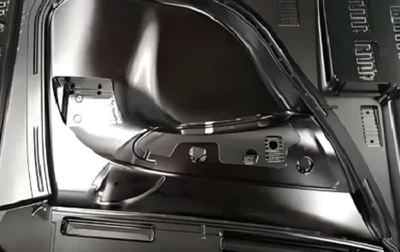
Removing gates is essential for enhancing the appearance and functionality of the molded parts. A well-executed gate removal process can make all the difference in the quality of your final product.
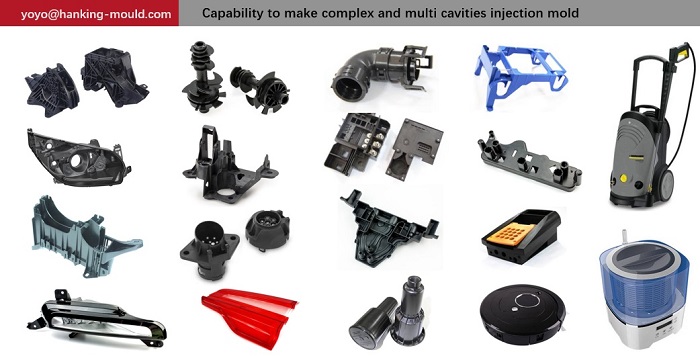
When it comes to gates, there are various types to consider. You've got your sprue gates, edge gates, tab gates, and sub-gates, just to name a few. Each type has its own set of advantages and disadvantages, so it's crucial to understand how they work.
Sprue gates, for example, are the main entrance point for the molten plastic and are easy to remove. Edge gates, on the other hand, are located along the edges of the part and are ideal for creating a clean finish. Knowing the different gate types will help you choose the best removal technique for your specific custom plastic molding project.
Now, let's talk tools. To successfully remove gates, you'll need a few essentials in your arsenal. Trimmmers, nippers, and knives are your best friends when it comes to gate removal. These tools help you cut, trim, and grind away the excess material with precision.
Ready to roll up your sleeves and get rid of those gates? First things first, prep your molded part for gate removal. This may involve inspecting the part, identifying the gates, and planning your removal strategy.
When it comes to removing gates, techniques such as trimming, cutting, and grinding are commonly used. Each method has its own nuances, so it's important to choose the right approach based on the type of gate and material of your molded part.
After successfully removing the gates, it's time to focus on post-processing and finishing. This step is crucial for achieving a smooth and professional look on your molded part. Sanding, polishing, or applying additional finishing techniques can help refine the surface and eliminate any rough edges left behind by the gates.
By paying attention to post-processing and finishing, you'll ensure that your molded parts look top-notch and are ready for their intended use.
Like any manufacturing process, gate removal can sometimes run into roadblocks. Common issues such as uneven cuts, excess material, or damage to the part may arise. Don't fret! With a bit of troubleshooting and problem-solving skills, these issues can be addressed.
Be proactive in avoiding mistakes during gate removal by following best practices and staying attentive to the details. By doing so, you'll minimize errors and ensure a successful gate removal process every time.
And there you have it – the ultimate guide to removing gates after injection molding! By understanding the types of gates, using the right tools, following a step-by-step process, and focusing on post-processing, you'll be well-equipped to tackle gate removal with ease.
Remember, gate removal is a crucial step in producing high-quality molded parts. So, don't be afraid to experiment, learn from your experiences, and refine your techniques along the way.
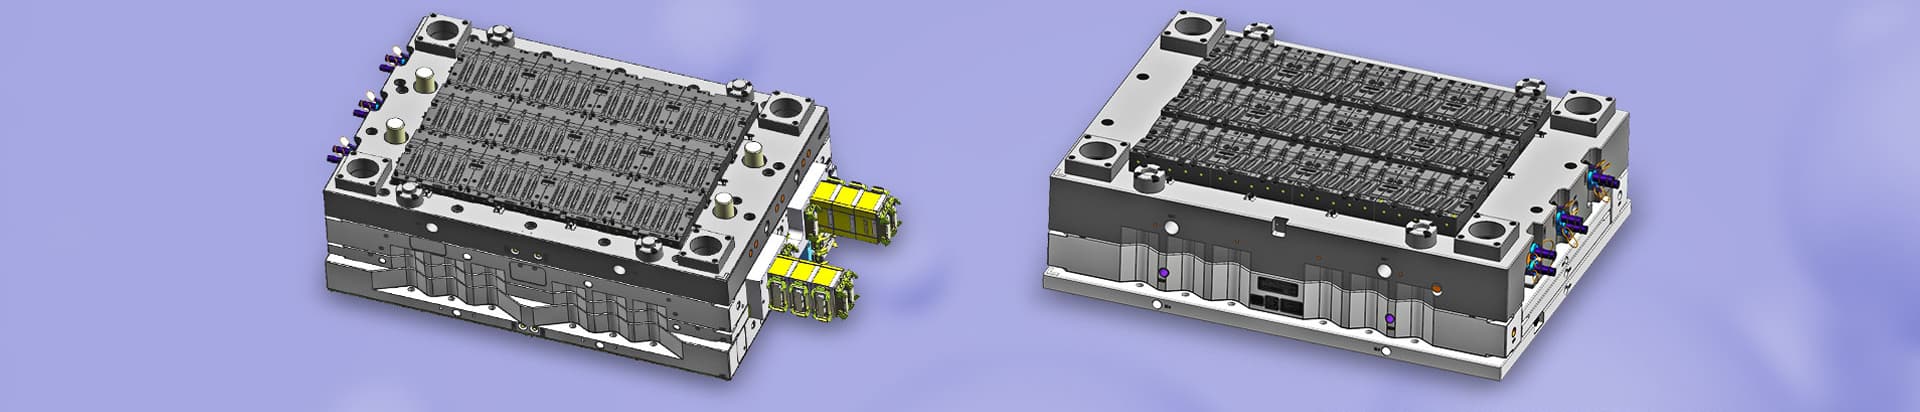
Contact yoyo@hanking-mould.com for more support.


 Call us on:
  Email Us:
  1st Floor, Block1, No.3 Beiting Road, Houting Community, ShaJing Street, Bao'An District, Shenzhen City, Guangdong Province, China
  English
 Deutsch
 italiano
 русский
 français
 română
 العربية
 Español
 Polska
 日本語
日本語 한국어
한국어