If you have gone through my prior article on injection molding, you likely grasp the basic framework of the molding process. However, the injection molding cycle remains a critical component that demands deeper exploration. This cycle dictates the efficiency and quality of plastic part production, making it a cornerstone for mold industry professionals and product designers alike.
Material Verification
Inspect the packaging, morphology, dimensions, and color of molding materials to ensure they match order specifications. Pay special attention to damaged packaging or contamination, especially for transparent materials, to prevent erroneous material use.
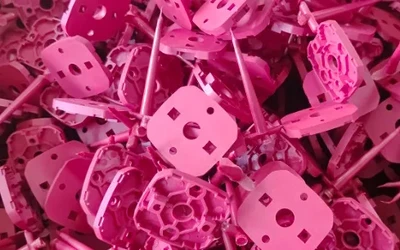
Plastic Coloring and Blending
Raw plastics typically come in natural, white, off-white, light yellow, or transparent hues. To meet color requirements, incorporate color masterbatch or powder based on pre-set ratios from trial production. Key steps include:
Cleaning mixer walls with mold cleaner or kerosene before blending.
Using original material bags or clean, dust-free substitutes to avoid contamination.
Material Drying
Excess moisture in materials causes surface defects (e.g., splay marks, bubbles) and degradation. Drying requirements vary by material:
Hygroscopic materials: ABS, PA, PC, PMMA require controlled drying temperature, time, and layer thickness.
Non-hygroscopic materials: PE, PP, PS, etc., have lower drying needs but still require moisture control.
Pro tip: Dried materials can reabsorb moisture; re-dry if unused for extended periods.
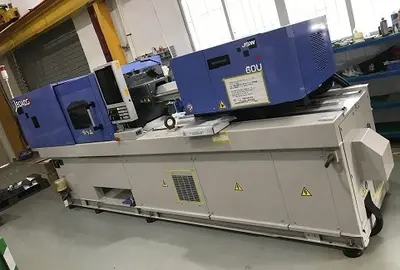
Equipment Cleaning
Material/color changes between molds/product runs can cause defects (e.g., brittleness, color,black spots). Thoroughly flush the machine barrel to remove residual materials and ensure process stability.
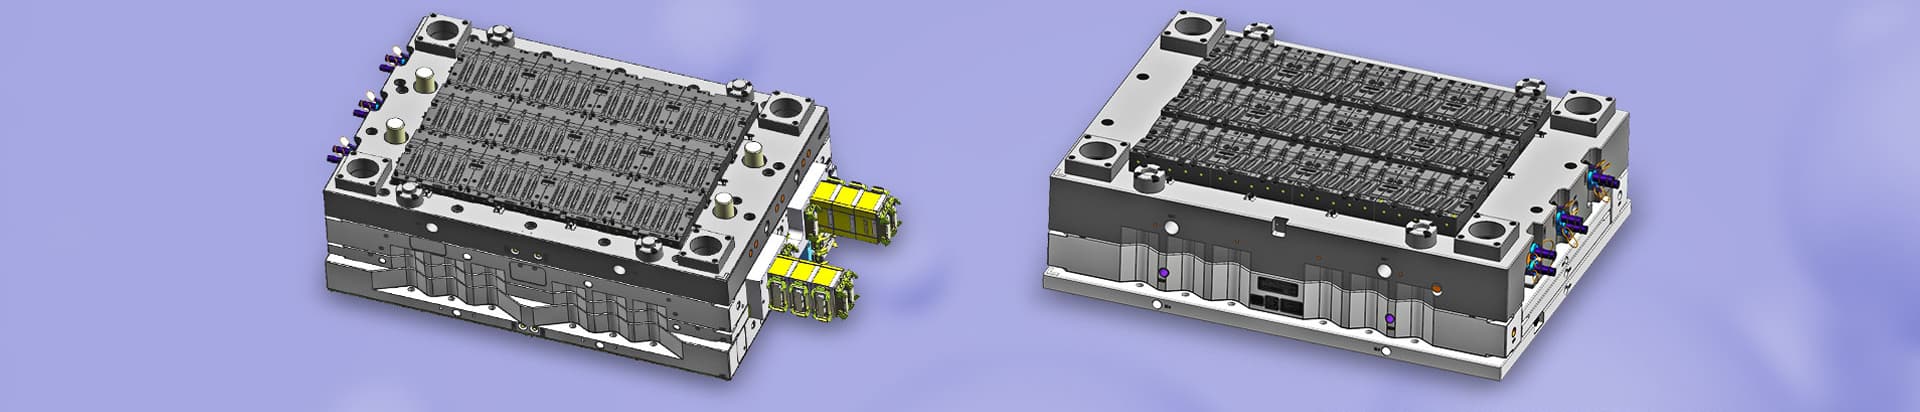
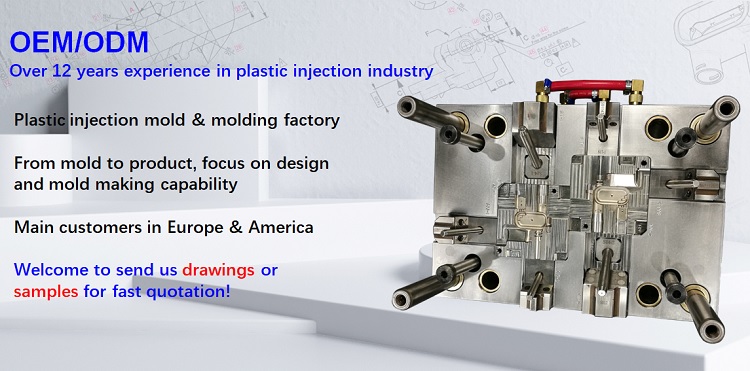
Mold Preparation
Mold Cleaning: Remove rust preventive oil from surfaces, cavities, inserts, nozzles, and runners. Use mold cleaner and air guns for mirror-finished molds to avoid scratches; store disassembled parts in protective containers.
Water Connection: Connect molds to temperature controllers/chillers to maintain stable temperatures (15–30 minutes to reach set points).
Hot Runner Power: Preheat hot runner systems for 15–30 minutes before trial runs.
Clamping
Clamping force (measured in tons) secures the mold halves against injection pressure. Key components include fixed/movable platens, tie bars, and hydraulic/toggle mechanisms. Note: Machine tonnage refers to clamping force, not weight.
Injection
After plasticization, the screw/plunger propels molten plastic through the sprue, runners, and gate into the cavity. Critical controls include:
Injection speed/pressure profiles
Multi-stage injection for complex parts
Flow balance to prevent defects like short shots or burns.
Dwelling & Cooling
Maintains pressure during solidification to prevent shrinkage/warpage. Cooling time depends on material thickness, geometry, and plastic mold design. Optimized cooling channels enhance uniformity.
Mold Opening
The clamping unit retracts the movable platen, separating mold halves. Sequential speed control (slow-fast-slow) minimizes wear.
Ejection
Ejector pins/plates push parts from cavities. Automated robots are widely used in Chinese factories for efficiency. Key considerations:
Ejection force/speed matching part geometry
Auxiliary mechanisms (air blasts, stripper plates) for complex parts.
Mold Closing
Realigns mold halves with precise clamping force, preparing for the next cycle.
Cycle time comprises 11 sequential steps, from mold closing to ejector return. Accurate estimation is critical for quoting, especially in high-volume production. Key influencers:
Mold design (gate/runner layout, cooling channels)
Material properties (melting point, viscosity)
Machine capabilities (clamping speed, plasticizing capacity)
Process parameters (temperature, pressure profiles)
Mold Design Optimization
Gate placement to minimize flow length
Balanced runner systems for multi-cavity molds
Finite element analysis (FEA) for cooling channel design.
Clamping/Opening Optimization
Regenerative hydraulic systems for faster clamping
Multi-stage speed control (e.g., fast clamping with low-pressure protection).
Injection/Holding Phase Tuning
Multi-stage injection speeds to balance fill and defect prevention
Holding pressure timed to runner solidification (monitored via part weight).
Cooling Efficiency Enhancement
Baffled/finned cooling channels for uniform heat removal
Chilled water/liquid nitrogen for rapid cooling (where quality permits).
Plasticizing System Upgrades
Barrier screws for higher throughput
Hydraulic shut-off nozzles to enable concurrent plasticizing and mold actions.
Process Parameter Fine-Tuning
Minimum barrel temperature for smooth flow
Minimum clamping force to prevent flash
Critical note: Cycle optimization must never compromise part quality, dimensions, or functionality. Always validate changes through trial runs and quality inspections.
By systematically addressing each phase of the injection molding cycle, manufacturers can achieve up to 30% cycle time reduction while maintaining product integrity—an essential strategy for competitive manufacturing in today’s market.


 Call us on:
  Email Us:
  1st Floor, Block1, No.3 Beiting Road, Houting Community, ShaJing Street, Bao'An District, Shenzhen City, Guangdong Province, China
  English
 Deutsch
 italiano
 русский
 français
 română
 العربية
 Español
 Polska
 日本語
日本語 한국어
한국어