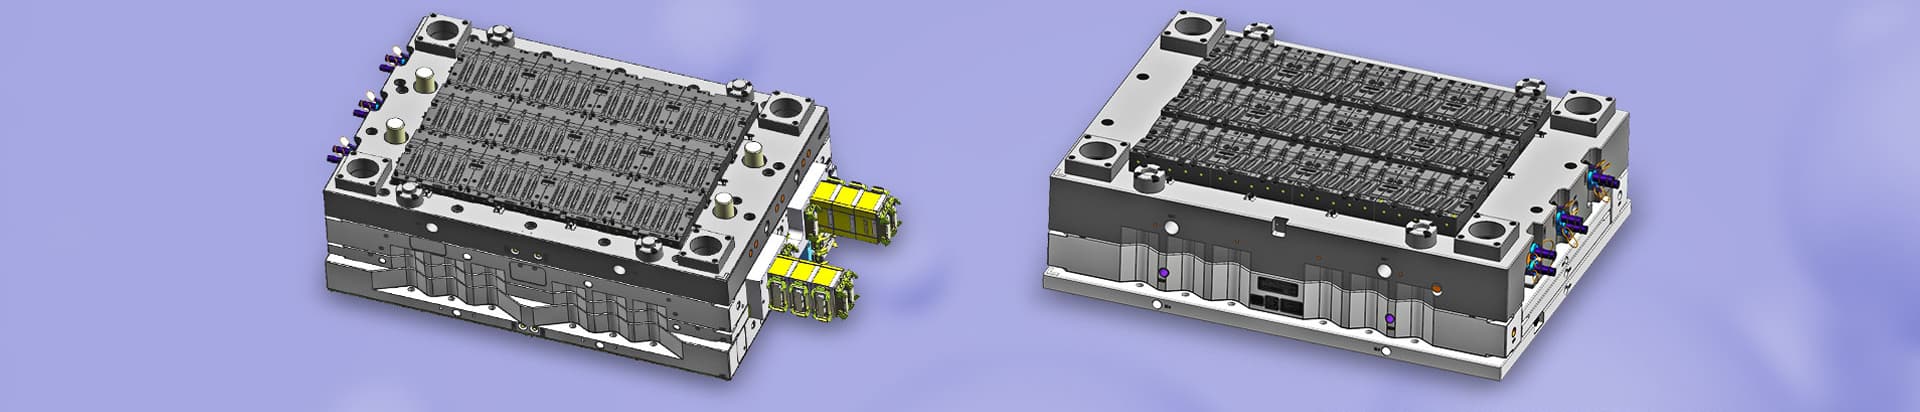
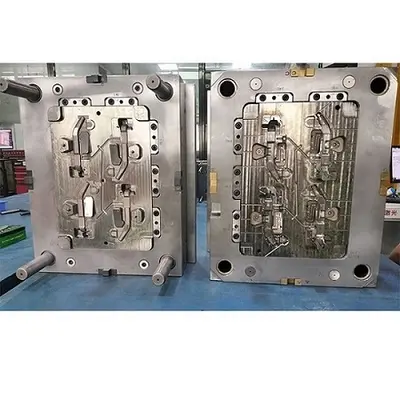
Key Design Guidelines for Plastic Injection Molded Products
Designing
plastic injection molded products requires balancing manufacturability, functionality, and quality. Below are core design guidelines covering critical aspects such as wall thickness, structural features, assembly methods, and surface treatments, ensuring smooth production and meeting performance requirements.
1. Wall Thickness (Cavity Thickness)
Wall thickness directly impacts mold filling, shrinkage, and product strength.
General Range: 0.80–3.00 mm for overall casings. Large products require thicker walls, while small products can use thinner walls; 1.0–2.0 mm is common for most products.
Uniformity Requirement: Maintain uniform wall thickness as much as possible. Gradual transitions are allowed for local thickness adjustments (avoid abrupt changes) to prevent shrinkage and ensure full filling.
Minimum Thickness: Most plastics struggle to fill cavities with thickness <0.3 mm, but soft plastics and rubber can achieve full filling at 0.2–0.3 mm.
2. Reinforcing Ribs (Ribs)
Reinforcing ribs enhance product strength without increasing overall wall thickness, preventing deformation.
Thickness Control: Typically 0.5–0.7 times the overall wall thickness. Thickness >0.7 times the wall thickness easily causes shrinkage.
Draft Angle: Add a 0.5–1° draft angle for tall ribs (to reduce demolding resistance); short ribs may omit draft angles.
3. Draft Angle
All plastic products require draft angles (except shallow parts like flat plates or those with special requirements; slides are needed for large sidewalls without draft angles).
General Range: 1–5°, with 2° as the common default. Adjust based on product size, height, and shape to ensure smooth demolding without affecting functionality.
Mold-Specific Adjustment: The draft angle of the cavity (A-side) should be 0.5° larger than that of the core (B-side) to keep the product on the core during mold opening.
Special Areas: Draft angles are required for pillows, through holes, and shut-off surfaces, with a single-side height difference (between large and small ends) >0.1 mm.
4. Fillets (R Angles)
Add fillets to edges (except where sharp edges are specified) to reduce stress concentration, improve plastic flow, and facilitate demolding.
5. Holes
Shape and Size: Prefer simple, regular round holes over complex shaped holes. Avoid overly small diameters or excessive depth-to-diameter ratios (thin, long mold cores are prone to breakage and deformation).
Spacing Requirements: The distance from a hole to the product edge should be >1.5 times the hole diameter; the distance between holes should be >2 times the hole diameter to maintain structural strength.
Molding Methods: Holes parallel to the mold opening direction use cores (insertable or extendable), shut-offs, or through holes. Holes non-parallel to the opening direction require slides or lifters. Sidewall holes should use shut-offs or through holes where possible (without affecting product use and assembly).
6. Bosses
Bosses are used for shaft-hole assembly between two plastic products or self-tapping screw installation.
Draft Angle: No draft angle is needed for short bosses ejected by sleeves. Tall bosses require cross ribs (with 1–2° draft angles), and bosses themselves may need draft angles based on height.
Fit Clearance: A 0.05–0.10 mm single-side clearance is recommended for boss-shaft or boss-boss assembly to accommodate positional errors during processing.
Self-Tapping Screw Compatibility: The inner hole diameter of bosses for self-tapping screws should be 0.1–0.2 mm smaller than the screw diameter (e.g., φ2.60–2.80 mm for M3.0 self-tapping screws) to ensure secure locking.
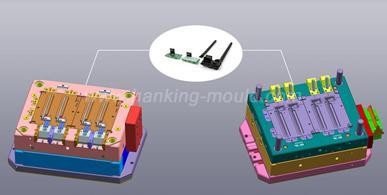
7. Inserts
Inserts are pre-existing metal or plastic components placed in the mold for overmolding.
Positioning: Ensure inserts are fully, accurately, and reliably positioned in the mold.
Bonding and Sealing: Guarantee strong bonding between the insert and the molded part (insufficient overmolding thickness reduces bond strength). Prevent plastic leakage during molding.
8. Surface Textures
Plastic product surfaces can be smooth (polished mold), EDM texture (copper electrode discharge machining), etched textures (patterned), or engraved.
9. Text
Text on product surfaces can be raised or recessed.
10. Threads
Threads on plastic parts typically have low precision and require specialized thread release mechanisms.
11. Support Surfaces
Avoid using entire surfaces as supports. Instead, use bosses, bumps, or ribs.
12. Assembly Methods
12.1 Ultrasonic Welding
Features: Easy mold implementation but requires specialized ultrasonic equipment (increased cost); non-detachable.
Weld Line Design: Triangular cross-section (0.30 mm wide × 0.3 mm high), with 2 mm gaps every 5–10 mm along the length.
12.2 Self-Tapping Screw Assembly
12.3 Snap-Fit Assembly
Features: Complex mold processing but convenient assembly and repeatable disassembly.
Design Notes: Avoid excessive local wall thickness at snaps; ensure mold manufacturability. Snaps should have proper fit tightness and fitting surfaces with appropriate gaps on other sides.
12.4 Boss Shaft-Hole Assembly
13. Matching Ribs (Tooth Openings)
Matching ribs are used at the contact surfaces of two plastic products.
Depth: 0.8–2.5 mm.
Clearance and Draft Angle: 0.1 mm side clearance. Add a 1–5° draft angle (2° common) for deep ribs; no draft angle needed for shallow ribs.
Fitting Surface: Zero clearance for the top and bottom matching surfaces.
14. Aesthetic Lines
Aesthetic lines are added at the mating surfaces of two plastic products.
15. Surface Treatment Methods
Common methods include painting, silk screening, hot stamping, printing, electroplating, engraving, texturing, polishing, and coloring.
16. Common Metal Materials
Stainless steel, copper alloys (brass, bronze, phosphor bronze, red copper), spring steel, springs, aluminum alloy, and zinc alloy.
17. Rust Prevention for Metal Materials
Electroplating, anti-rust oil coating, and anti-rust paint spraying.


 Call us on:
  Email Us:
  1st Floor, Block1, No.3 Beiting Road, Houting Community, ShaJing Street, Bao'An District, Shenzhen City, Guangdong Province, China
  English
 Deutsch
 italiano
 русский
 français
 română
 العربية
 Español
 Polska
 日本語
日本語 한국어
한국어